Prepare vehicle to remove and refit steering column
- Confirm steering wheel and front wheels are in the straight ahead position.
- Handbrake on and in Park or out of gear if it's a manual model.
- Disconnect battery power from vehicle.Remove lower steering column shroud
- Using a Phillips-head screwdriver remove 3 x phillips screws and remove Steering column shroud.Remove horn pad/airbag
- From behind the steering wheel you will locate 2 x 30 torx head screws, gently pry away from steering wheel and unclip & disconnect 3 x wiring plugs.Remove Steering Wheel
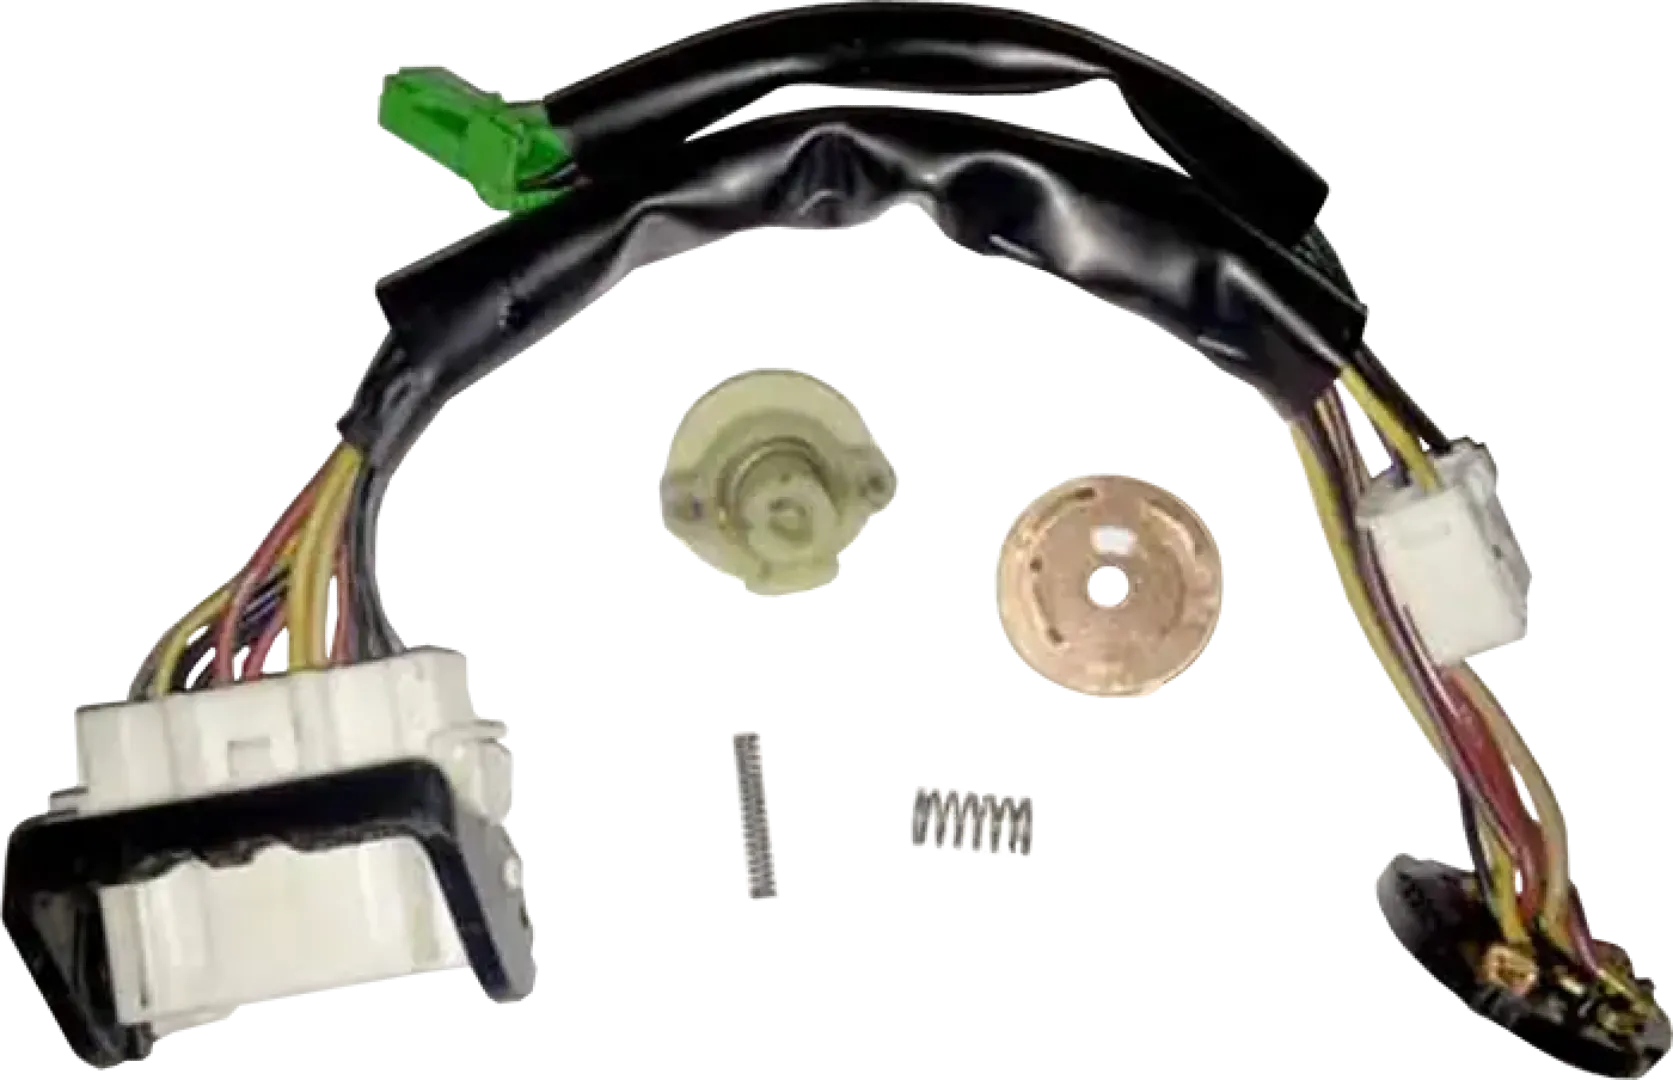
- Using 50 torx bit remove bolt. Using suitable puller, remove steering wheel.Remove Combination Headlamp Switch / Indicator Switch / Clock spring
- Following the wiring loom unplug 3 x plugs (Black and grey side by side and one large black one further back). Remove 3 x Phillips heads screws. Pay particular attention once removing the unit from its location to not allow the clock spring to turn as it is 'timed'.Uncouple steering column slip-shaft from steering rack uni-joint
- Looking past the brake pedal where the steering slip-shaft meets the steering rack. There is a 10mm headed bolt that needs removing.Removing Column from vehicle
- At the main body of the column locate the 4 x 10mm headed bolts attaching it to the under dash area.Remove Key Reader (clear box with green internal circuit board)
- Unplug loom and remove small Phillip's head screwSwapping Barrel & Key ( NO KEY CODING REQUIRED } Put your scanner away!
- Place the key in the barrel and turn to accessories ONE location. On the side of the key barrel housing locate the "window" and using a small screwdriver press the release button in whilst lifting the barrel and key out of the housing. Pay particular attention to NOT turn the key in the barrel and also DO NOT turn the steering shaft whilst the barrel is not in its seated position. Repeat the process with the other unit.Refit Key Reader
- Locate over replacement column and secure with screw, plug unit into existing harnessConfirming Slip-Shaft position
- Because steering wheel alignment can be unique to the individual vehicle. The 'alloy splined slip-shaft' needs to be confirmed that it's in the correct location to suit the vehicle being repaired. Easiest way I found to do this is to have the key out of the barrel and spin the shaft until the steering locks. Now check to see the replacement column shaft is in the same position as the column being replaced.
If not, adjust to suit by basically pulling the shaft out and turning to realigning. As this is not on a master spline this is easily achievable.Refit to vehicle following steps in reverse (7 to 2}
- Refit Steering column slip-shaft to steering rack uni-joint.
- Refit Combination Headlamp Switch / Indicator Switch/ Clock Spring.
- Refit Steering Wheel.
- Refit Horn Pad / Airbag
- Reconnect Battery Power to VehicleTurn the key and start the vehicle
TROUBLESHOOTING
Vehicle doesn't start? Check the following:
Confirm the vehicle's original key and barrel have been reused
Check Ignition fuse. Mini 20amp (fuse box beside battery)
Confirm all unplugged wiring harness plugs have been plugged in correctly. Including battery
Call Powerwin Automotive for further support on 07 3267 8998
Please ensure you have followed the steps correctly and double checked the above trouble shooting points before contacting us for support.