Using the master switch, lower the door glass to expose both 10mm bolts that connect glass clamps to the regulator.
Remove bolts, release the door glass, unplug wiring loom, and remove window regulator assembly.
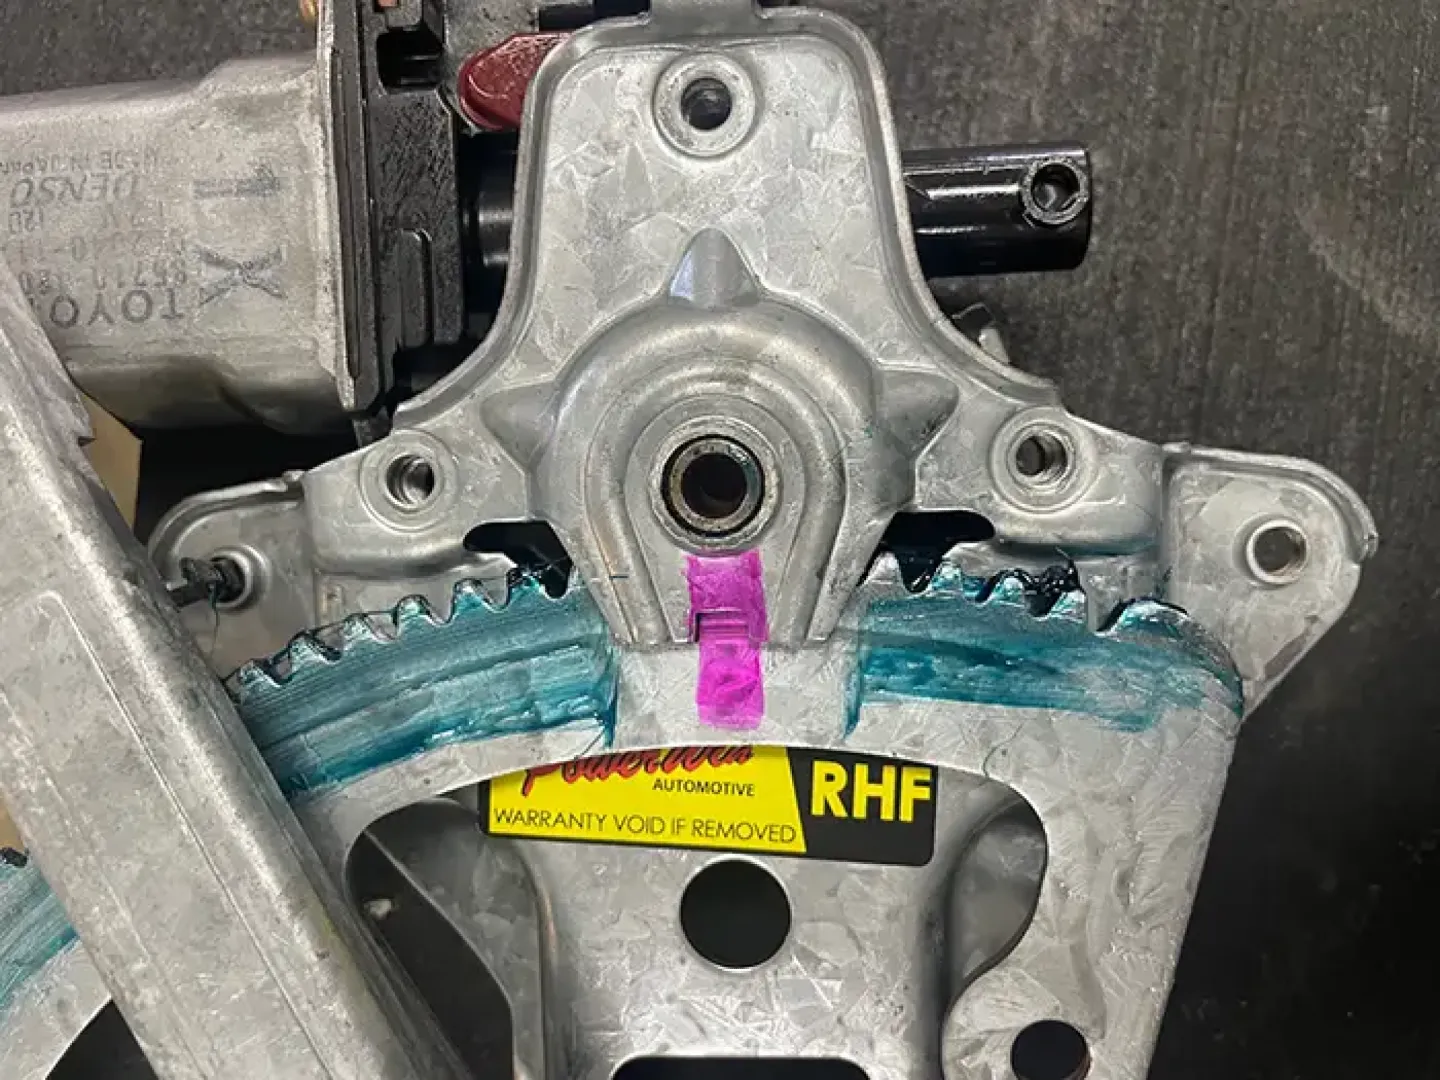
Take note or mark the position the
window motor is relative to the teeth
on the regulator. You will need to
reconnect the window motor later in
this same position. (Refer to image)Watching out for spring tensioner on the regulator, remove the three torques bolts, and release the window motor.
Take your replacement window motor and plug in into the wiring harness on the car WITHOUT THE REGULATOR ATTACHED.
Using the door switch, pull all the way up and release. Let the window motor Auto Drive in the UP DIRECTION ONLY for approximately 30 turns.
Bolt the replacement window motor back onto the regulator in the same position it was removed, as noted on removal. Again, be cautious of spring tensioner if present. (Refer to image}
The motor MUST NOT be powered in any direction at this stage.
Re-secure the glass to the window regulator with the 10mm bolts and plug in the
wiring loom.Using the master switch, pull up all the way in the UP DIRECTION ONLY. Continue holding up until the window is fully closed, and continue to HOLD for 1 to 2 seconds.
You can now power the motor in the AUTO DOWN cycle.
To check that you have set the memory correctly, power the motor in the AUTO UP cycle. The glass should power to the closed position and stop.